Virtual OCSSD Platform
Virtual OCSSD is a virtual SSD disk, if there is no device in pc, I will install QEMU-NVMe to virtualize the hardware.
What is QemuEmulator
Here are details https://help.ubuntu.com/community/Installation/QemuEmulator
Click for details
Open-Channle SSD documents: https://openchannelssd.readthedocs.io/en/latest/qemu/#getting-started-with-a-virtual-open-channel-ssd
Github websites: https://github.com/OpenChannelSSD/qemu-nvme
Here is the key part

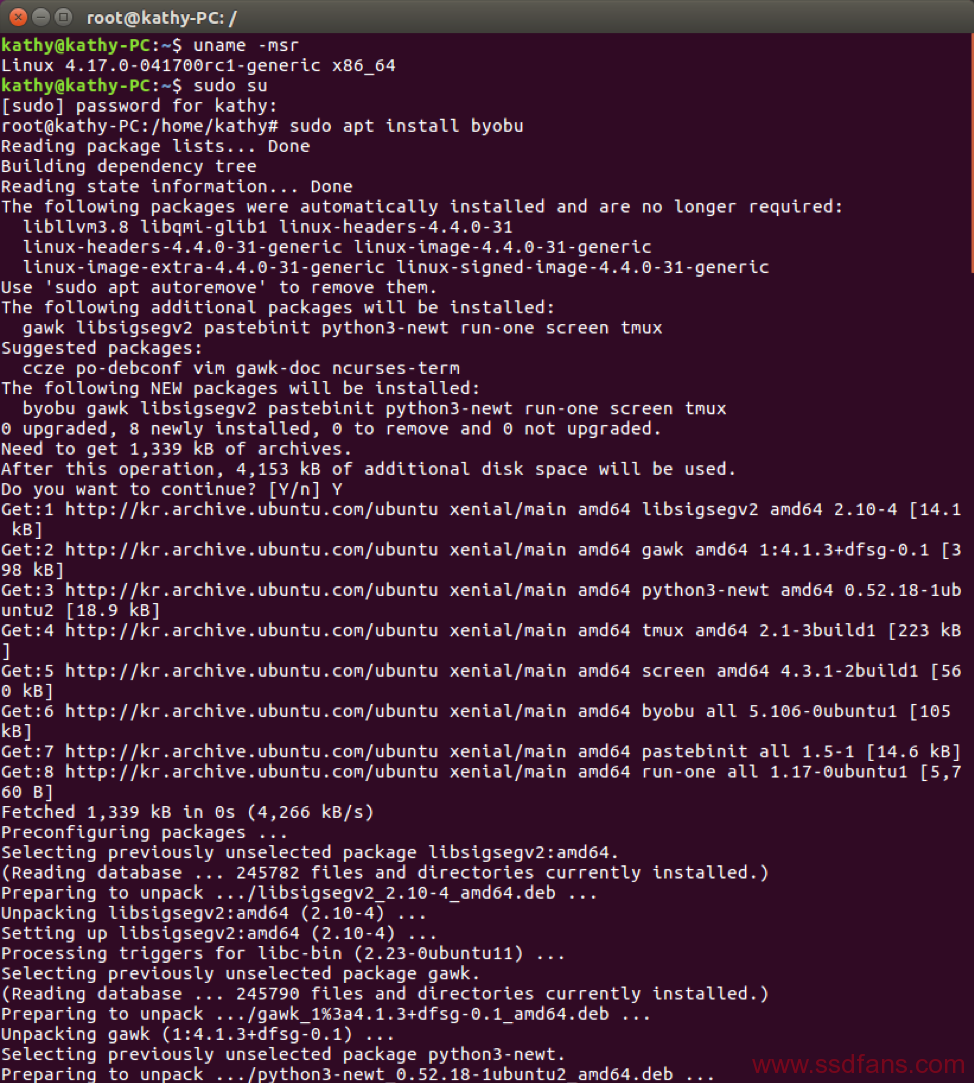
- Start to install
- Installation environment preparation
- Ubuntu16.14
- Linux kernel 4.17 or 4.16.15 version
- Open terminal
git clone https://github.com/OpenChannelSSD/qemu-nvme.git

cd qemu-nvme
./configure –target-list=x86_64-softmmu –enable-trace-backends=log –enable-kvm –prefix=$HOME/qemu-nvme
If you see
this means SUCCESS!!
If you see some errors like follows:
![]()
Solution is to input sudo apt-get install libglib2.0-dev
Then input ./configure –target-list=x86_64-softmmu –prefix=$HOME/qemu-nvme
![]()
Solution is to input sudo apt-get install libpixman-1-dev
Then input ./configure –target-list=x86_64-softmmu –prefix=$HOME/qemu-nvme
- After “SUCCESS” or resolving all errors
Input make
make install
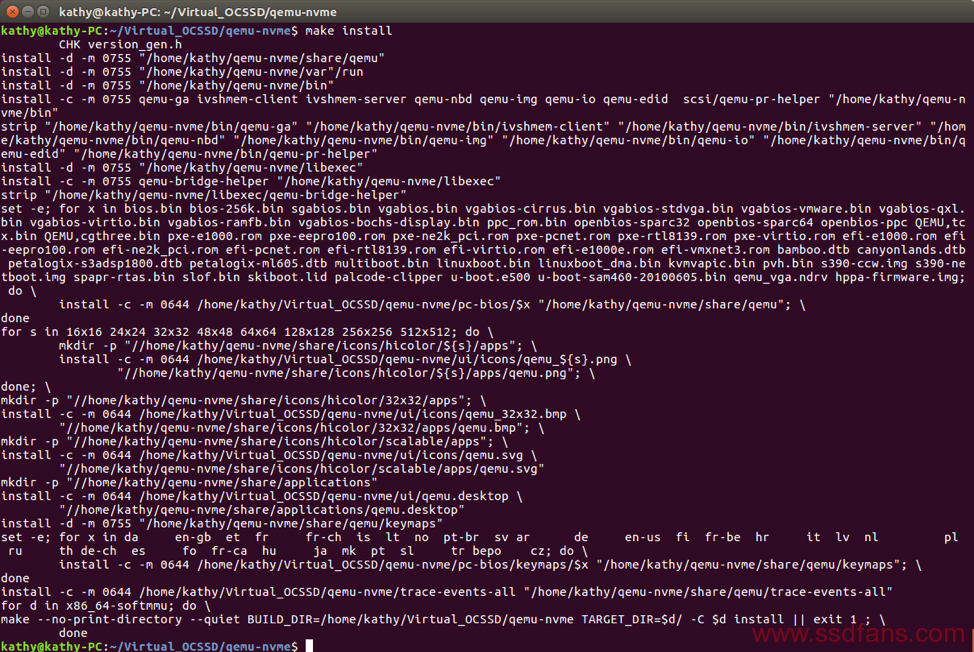
- Then,Complied is finished!!
- Next step – Configure QEMU
Common command in qemu
Here are common commands for qemu
sudo ln qemu-system-x86_64 /usr/bin
OCSSD configuration
qemu-img is a disk management tool for QEMU
Create a large size file , it will be used as OCSSD disk, here we configure an OCSSD image with 2 groups (channels), 4 PUs per group, and 60 chunks per PU to store emulated OCSSD data on the host machine
./qemu-img create -f ocssd -o num_grp=2,num_pu=4,num_chk=60 ocssd.img
![]()
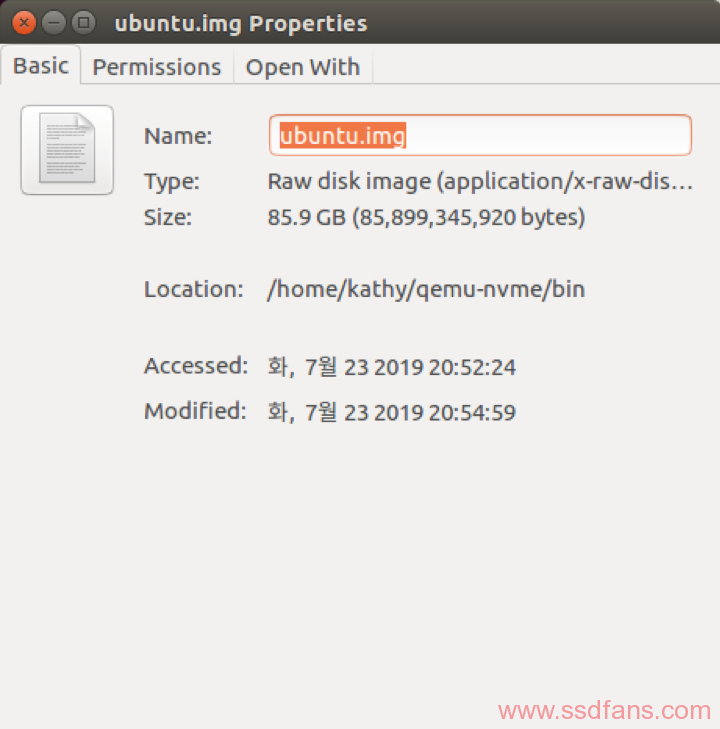
Create to set up a 80G “ubuntu.img” to be the main disk for qemu virtual machine
Here are two ways:
sudo $HOME/qemu-nvme/bin/qemu-img create -f raw ubuntu.img 80G
sudo $HOME/qemu-nvme/bin/qemu-img create -f qcow2 ubuntu.img 80G
![]()
![]()
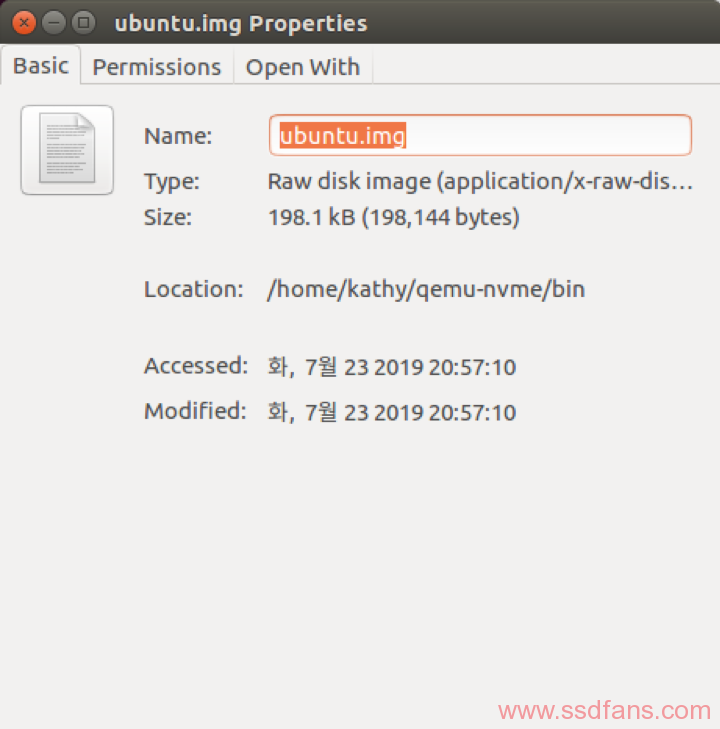
Here I choose qcow2 image format, the details between raw and qcow2,click https://serverfault.com/questions/677639/which-is-better-image-format-raw-or-qcow2-to-use-as-a-baseimage-for-other-vms
- Next step – Install ubuntu system to QEMU
Note:I met some troubles when I choose ubuntu18.04,mounting ubuntu.img when start QEMU.
So, I recommend ubuntu16.04
Before installing, download ubuntu-16.04.6-desktop-amd64.iso into https://ubuntu.com/download/desktop/thank-you?country=KR&version=18.04.2&architecture=amd64
If memory is 8G, cpu core is 4
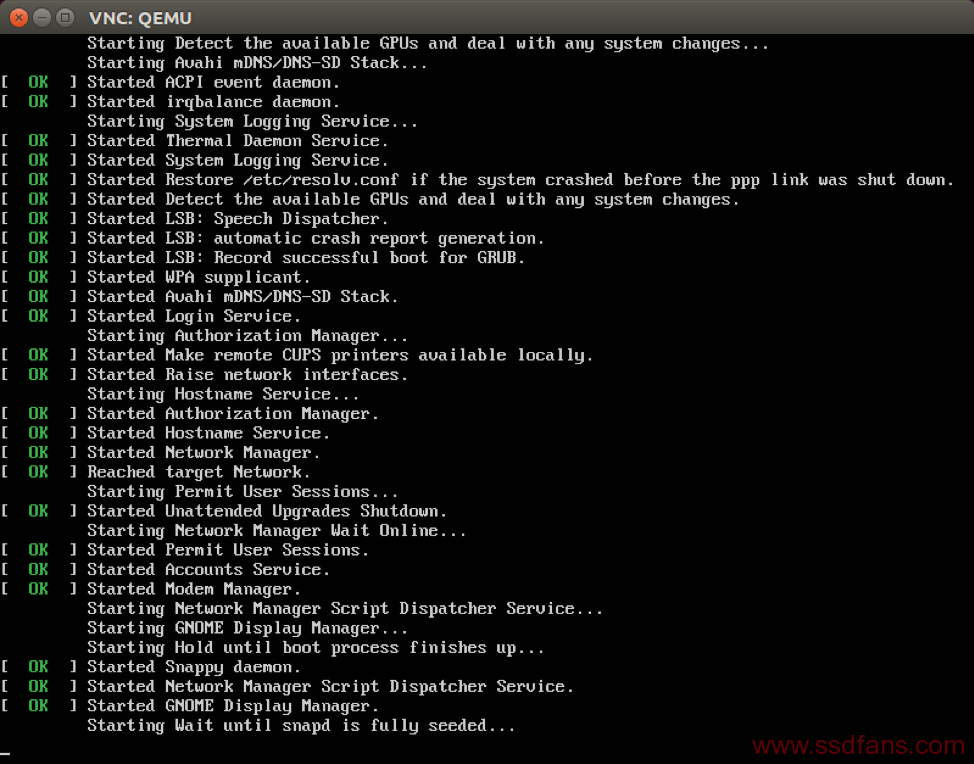
input like sudo ./qemu-system-x86_64 -m 8192 -enable-kvm ubuntu.img -cdrom ubuntu-16.04.6-desktop-amd64.iso
you can see
![]()
We need a viewer tool to exit qemu virtual machine
open a new terminal
sudo apt-get install xvnc4viewer
vncviewer localhost:5901
(Note that the port number above is the same as the port number given by qemu runtime)
(You can display the status of the virtual machine.)

Then there will be the window display
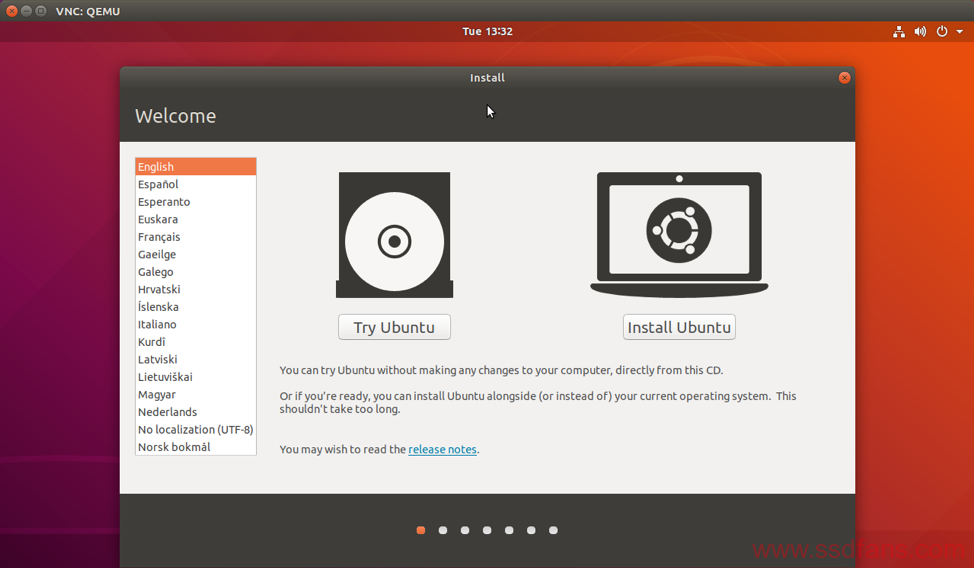
Then. wait to complete installing ubuntu into qemu
- Restart the qemu
Once you want to enter into qemu
./qemu-system-x86_64 -m 8192 -enable-kvm ubuntu.img
- Mount ocssd.img disk to ubuntu in qemu
`sudo ./qemu-system-x86_64 -m 8192 -enable-kvm ubuntu.img \
-blockdev ocssd,node-name=nvme01,file.driver=file,file.filename=ocssd.img
-device nvme,drive=nvme01,serial=deadbeef,id=lnvm`

- Next step – Linux(kernel) Installation
Note : Compiling kernel is a task that will occupy large size of memory, I compiled kernel in physical PC, and sent the compiled kernel into QEMU.
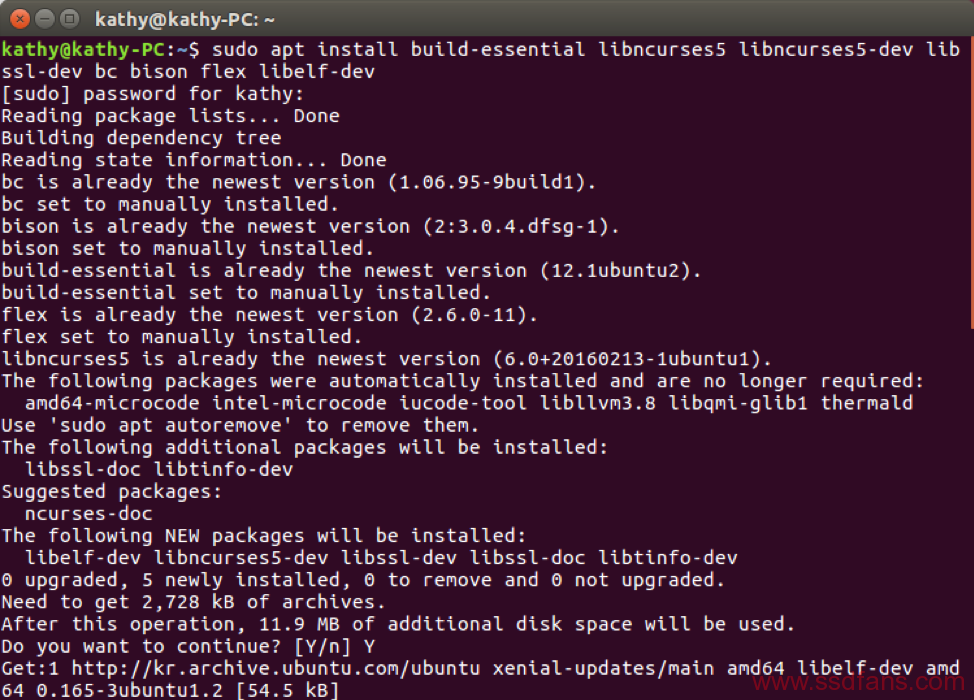
Install the package required to compile the kernel
Open_ a new terminal on physical PC
sudo apt install build-essential libncurses5 libncurses5-dev libssl-dev bc bison flex libelf-dev
 This can avoid installing packages when exit the step2.
2. Download the source code of the required kernel version
Download the kernel in the OpenChannelSSD repository (do not use the Linux official ).
git clone https://github.com/OpenChannelSSD/linux.git -b for-4.17/core
**Why here is 4.17? **
Linux kernel support for Open-Channel SSDs is available in version 4.4+ of the Linux kernel, pblk was added in 4.12, liblightnvm support was added in 4.14, and finally the 2.0 specification support was added in 4.17.
The open-channel SSD can either be accessed through lightnvm targets or liblightnvm.

3. Configure the kernel
cd linux Move the kernel.config file which installed in home to the linux folder
Find the kernel.config file after this command
cp ~/Virtual_OCSSD/qemu-nvme/kernel.config ./.config
Then, open the file through vi ./.config and make sure that the following parameters
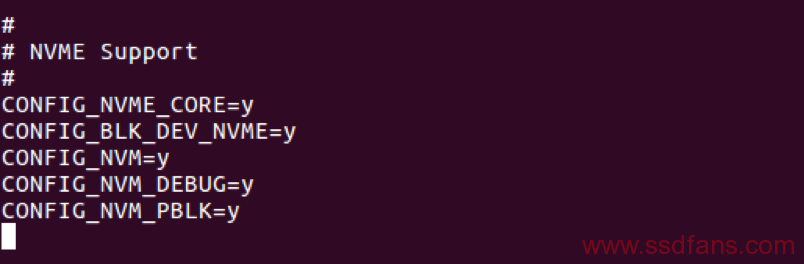
4. Exit the vi editor after the above parameters configuration is completed.
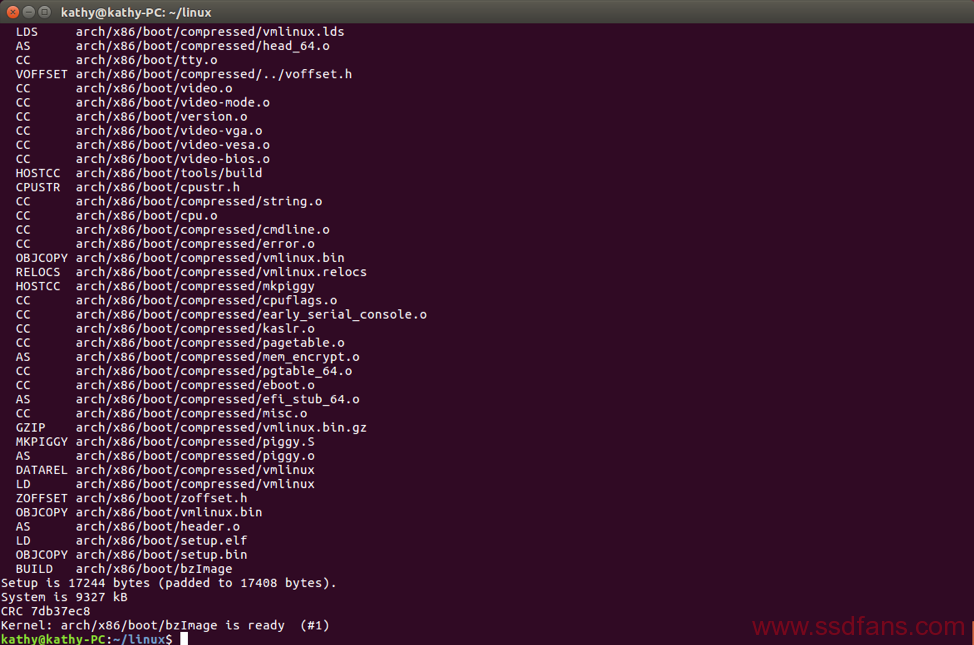
Compile the kernel
make -j ‘# of core’

Finish compiling!!!!!
5. Install the compiled kernel on physical PC into the QEMU virtual machine
There are some ways we can use to transfer files between physical PC and QEMU virtual machine,like using network or 9psetup protocol, but these two kind of methods are troublesome to configure.Here we use a single method by means of the share file to be as a bridge between virtual machine and PC host.
Create a 40G file called”share.img”
sudo dd if=/dev/zero of=/opt/share.img bs=1M count=40000
Format the share.img file
sudo mkfs.ext4 /opt/share.img
Create a folder on host
sudo mkdir /tmp/share
sudo mount -o loop /opt/share.img /tmp/share
Copy the compiled kernel on physical PC into the /tmp/share
sudo cp -r /home/kathy/linux/. /tmp/share/linux
Restart the QEMU
sudo qemu-system-x86_64 -m 8192 -enable-kvm ubuntu.img -drive file=/opt/share.img,format=raw
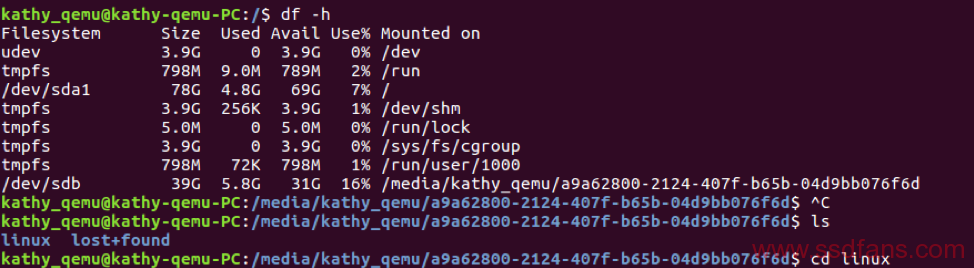
When open the my computer, we can see the share disk

df -h search the mounted location
cd linux
sudo apt-get update
sudo apt install make
sudo apt install gcc
sudo apt install libelf-dev
sudo make modules_install install
Go to install kernel!!
Another way to connect physical PC and QEMU:
./qemu-system-x86_64 -m 8192 -enable-kvm ubuntu.img -blockdev ocssd,node-name=nvme01,file.driver=file,file.filename=ocssd.img -device nvme,drive=nvme01,serial=deadbeef,id=lnvm -vnc :2 -net user,hostfwd=tcp::2222-:22 -net nic -kernel /home/kathy/linux/arch/x86_64/boot/bzImage -append root=/dev/sda1
- LightNVM (Linux kernel for Open-Channel SSD)Installation, Compile and Run
Start the qemu with mounting ocssd.img
`sudo ./qemu-system-x86_64 -m 8192 -enable-kvm ubuntu.img \
-blockdev ocssd,node-name=nvme01,file.driver=file,file.filename=ocssd.img
-device nvme,drive=nvme01,serial=deadbeef,id=lnvm`
Open a new terminal on qemu virtual machine
sudo apt install git make gcc
- LightNVM can be interfaced through the nvme cli tool (nvme-cli). It allows you to create, delete, and manage LightNVM targets and devices.
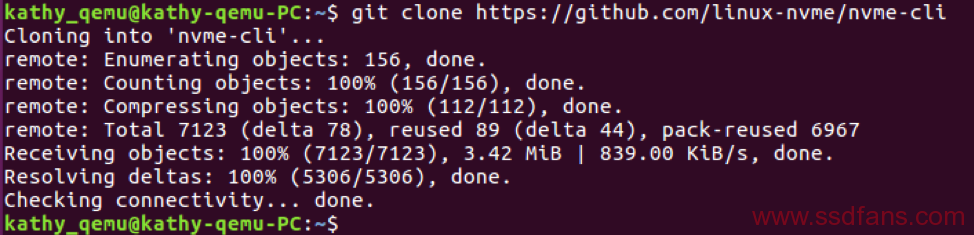
Install nvme-cli tool
git clone https://github.com/linux-nvme/nvme-cli
cd nvme-cli
make -j ‘# of core’
sudo make install
Then use the nvme-cli tool to check if the ocssd disk drive has been successfully loaded
sudo nvme lnvm list
 nvme-cli is the tool used to administrate nvme devices.
_Details for nvme-cli,click: _
https://github.com/linux-nvme/nvme-cli/blob/master/Documentation/nvme-lnvm-create.txt
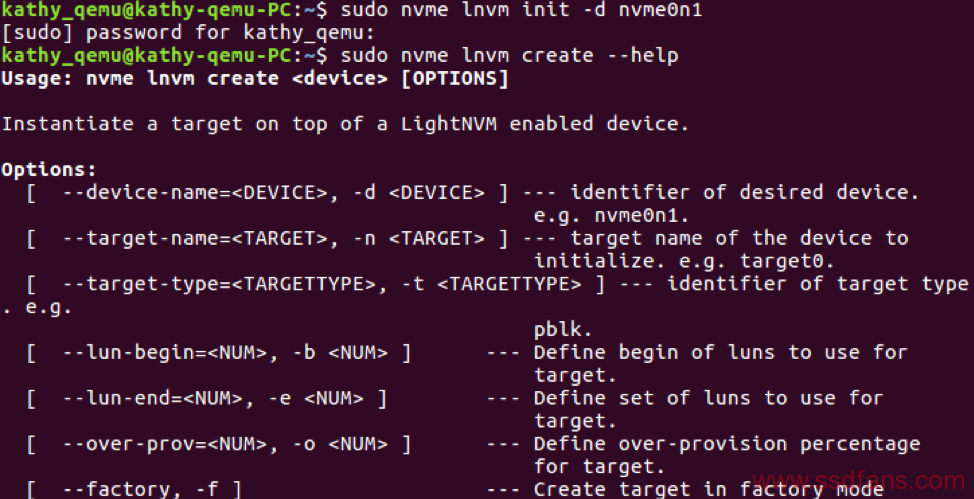
Getting started with nvme-cli
If block manager reports none (only pre-4.8 kernels), the device should be first initialized using:
sudo nvme lnvm init -d nvme0n1
Initialization of target instances is done through:
sudo nvme lnvm create -d nvme0n1{blkdevname} –lun-begin=0{} –lun-end=3{} -n mydevice{targetname} -t pblk{target engine}
Mange ypur LightNVM SSD
Tool for managing and configuring drives
General information from LightNVM kernel moudle
sudo nvme lnvm info
 Getting started with pblk
pblk is a lightnvm target that implements a host-side translation layer, that enables an open-channel SSD to be exposed as a traditional block device. It is available from version Linux kernel 4.12+ (4.17+ is preferred for OCSSD 2.0 support).
Initialize pblk as /dev/mydevice on nvme0n1, using parallel unit 0-3.
sudo nvme lnvm create -d nvme0n1 –lun-begin=0 –lun-end=3 -n mydevice -t pblk
Create ext4 file system:
sudo mkfs.ext4 /dev/mydevice
Create a mount point(/mnt/nvme) and attaches the partition:
sudo mkdir /mnt/nvme
sudo mount /dev/mydevice /mnt/nvme

Details about the usage of pblk
http://lightnvm.io/pblk-tools/usage.html
Once the pblk instance is created and the block device available, a sysfs interface is exposed that allows further communication with the pblk instance. This interface can be found at /sys/block/$INSTANCE_NAME(here is mydevice)/pblk/
-fio-The best SSD performance test tool
Click for details:
https://arstech.net/how-to-measure-disk-performance-iops-with-fio-in-linux/
https://www.google.com/url?sa=t&rct=j&q=&esrc=s&source=web&cd=7&cad=rja&uact=8&ved=2ahUKEwiN9PL3nffjAhVYx4sBHWFWBs0QFjAGegQIBhAC&url=https%3A%2F%2Fwww.linuxdays.cz%2F2017%2Fvideo%2FAdam_Kalisz-SSD_cache_testing.pdf&usg=AOvVaw3orwrnViqyA7Yn4PfLWsrJ
Open a new terminal at QEMU virtual machine
$ sudo apt-get install fio